Deal Page Setup (Default)
Edit the deal landing page directly from the Editor tab, in the "Deal Page" section.
The Deal Page Editor is divided into sections corresponding to the different sections of the deal page from top to bottom. Simply click a section to expand it, and scroll as needed. As you update your deal page, you may click "Save" to see the updated version of your deal page on the left hand side of the screen.
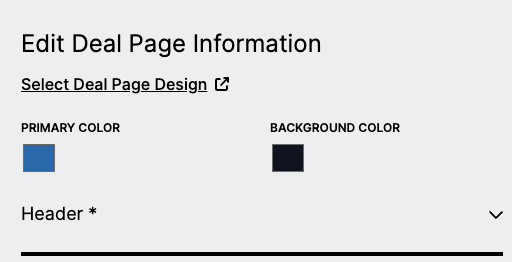
Color Palette
- Choose a primary and secondary color for your deal page.
- These will be used throughout the deal page and can be used to match your deal page to your brand colors or to any color scheme you'd like.
You can enter an RGB or hex value, or choose using the color picker.
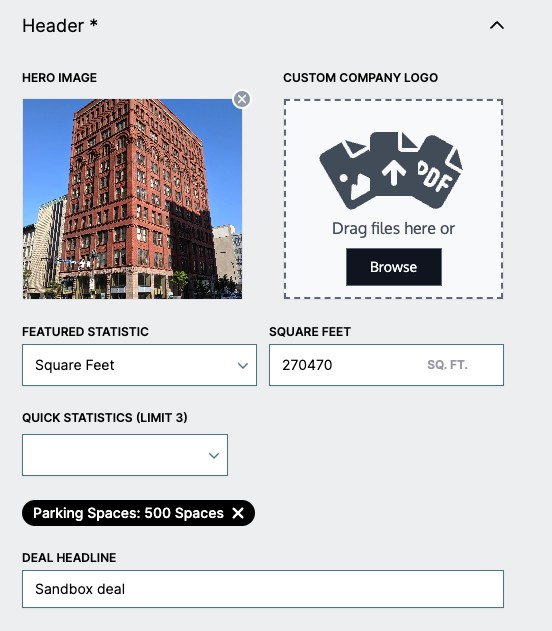
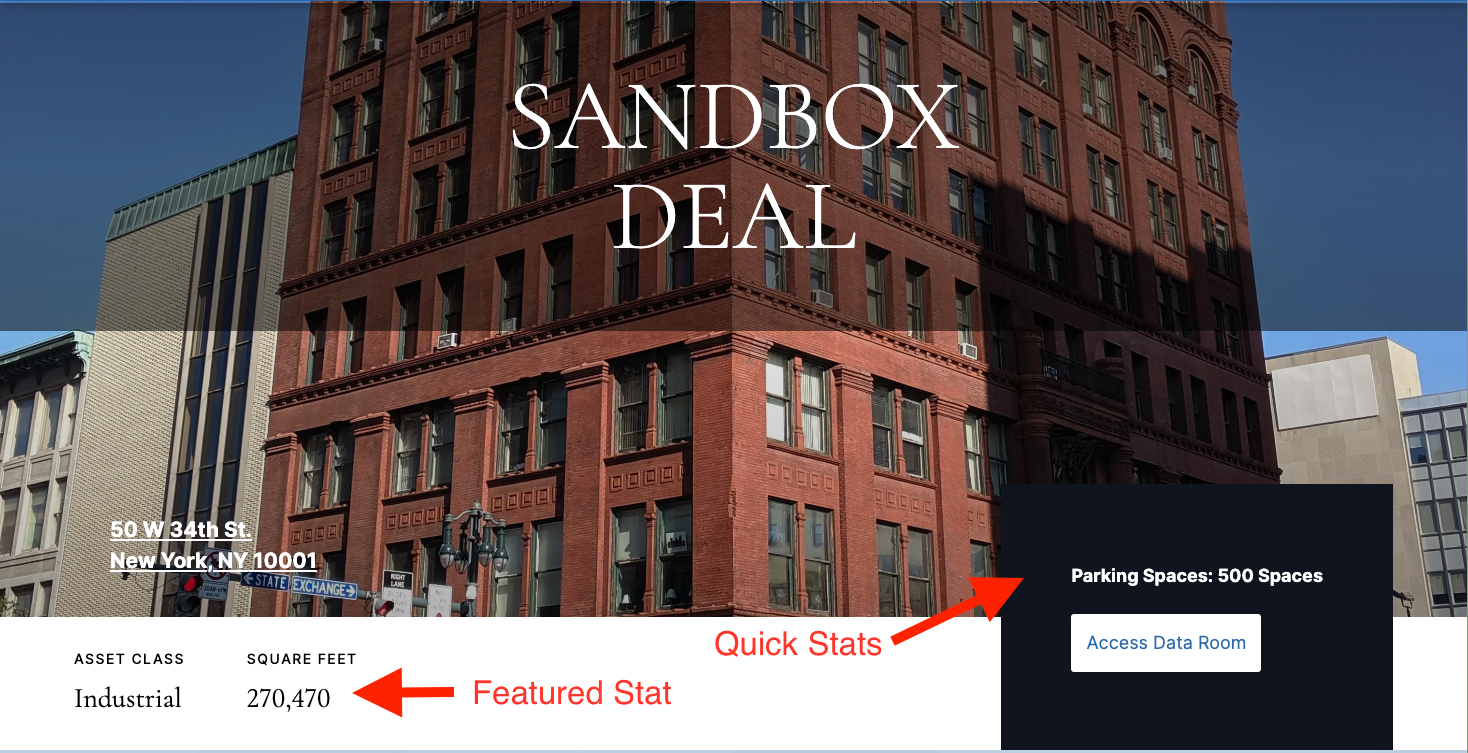
Header
- Choose the hero image, which will be used as the main image on the deal page.
- You can also optionally upload a custom company logo for your deal.
- If not set, the company logo from your company's Revere page will be used.
- Choose a featured statistic, which will be displayed prominently under your main image.
- Choose up to 3 quick statistics, which will also be featured on the deal page.
- Add a deal headline. This is usually 1-2 sentences describing the asset.
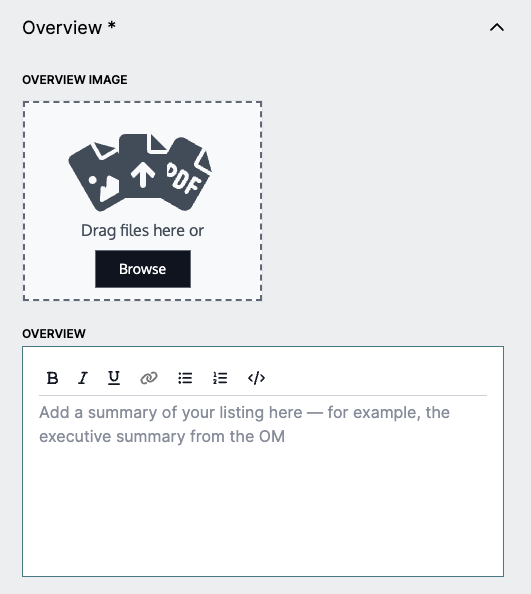
Overview
- Add an overview image, which will show next to the overview on the deal page.
- Create an overview. This usually includes an executive summary of the asset from an OM, or a more detailed description of the asset.
Investment Highlights
- Add an Investment Highlights image which will display next to the chosen highlighted statistics.
- You can select your Investment Highlights from the same set of deal statistics as Quick Stats and Featured Stat, but they will show up in the "Investment Highlights" section lower down on the deal page.
- You may add a description for your investment highlights which will provide further details or context.
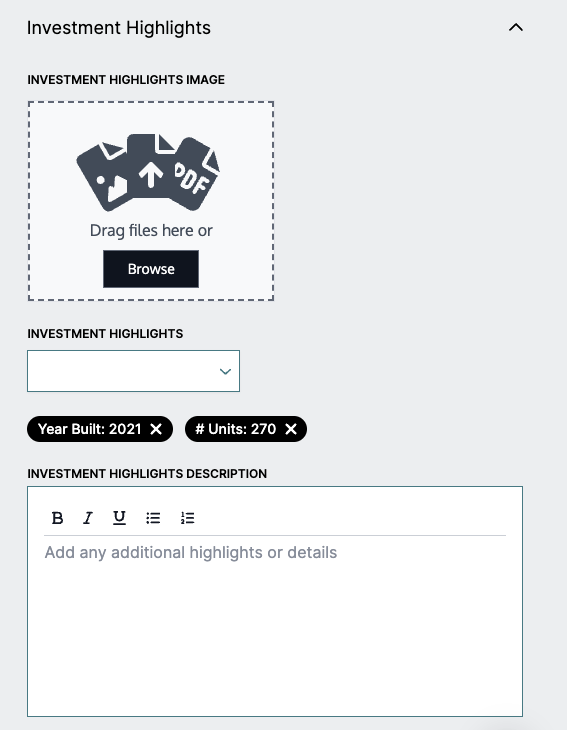
Table Information
- Name your table, and add the specific rows you'd like to appear in the table.
- Add as many columns as you need, and fill out the requisite information for
each column.
- For portfolio deals, you may want to use this table to compare assets
- Make sure each column and row is named, and each table cell is filled out, in order to save the table. You may choose to save incrementally.
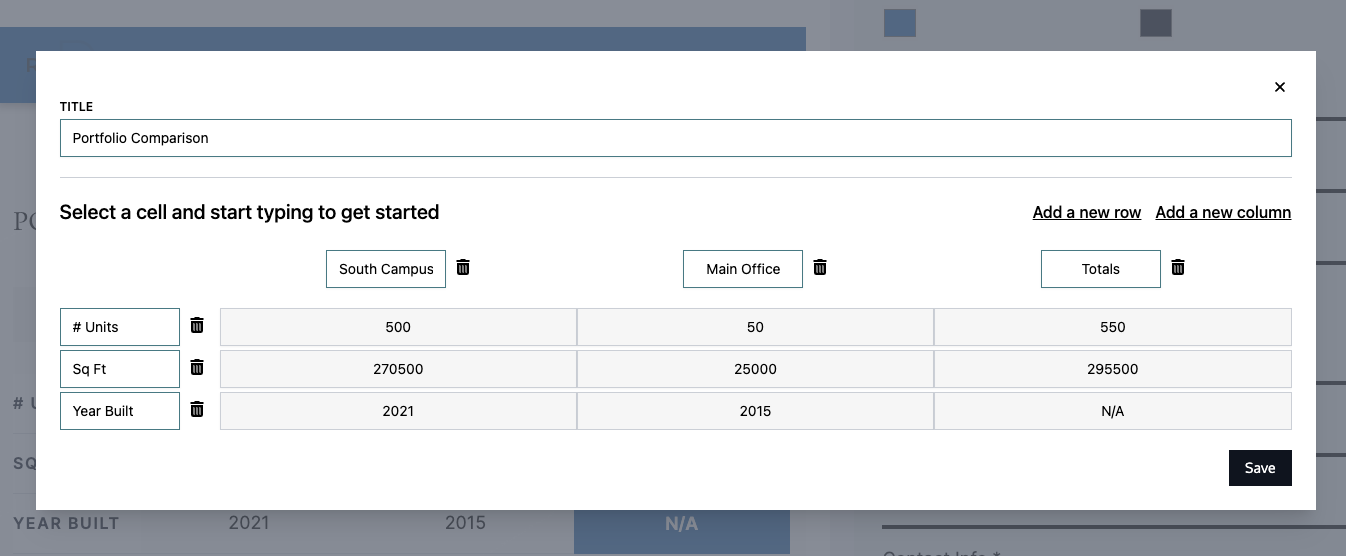
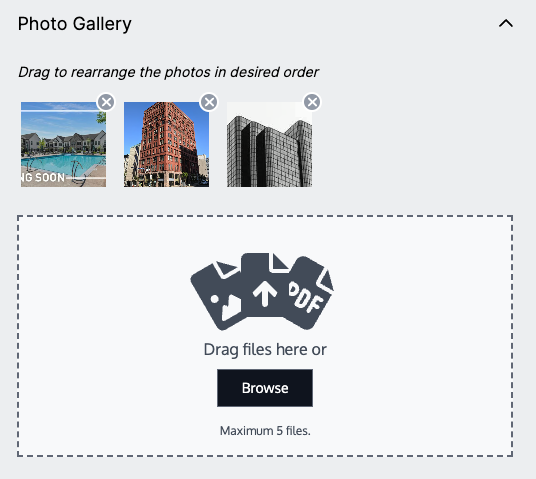
Photo Gallery
- Click "Browse" or drag and drop images into the image uploader to upload.
- All images will show up in the image carousel on the deal page in the order you arrange them.
- Drag and drop the images to rearrange their order.
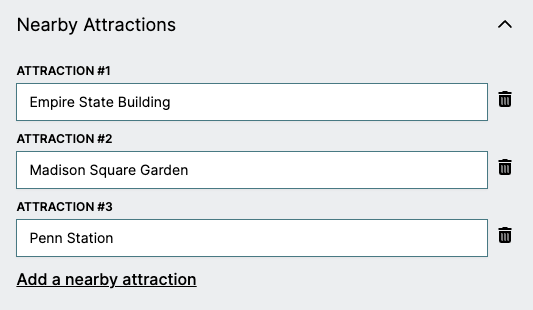
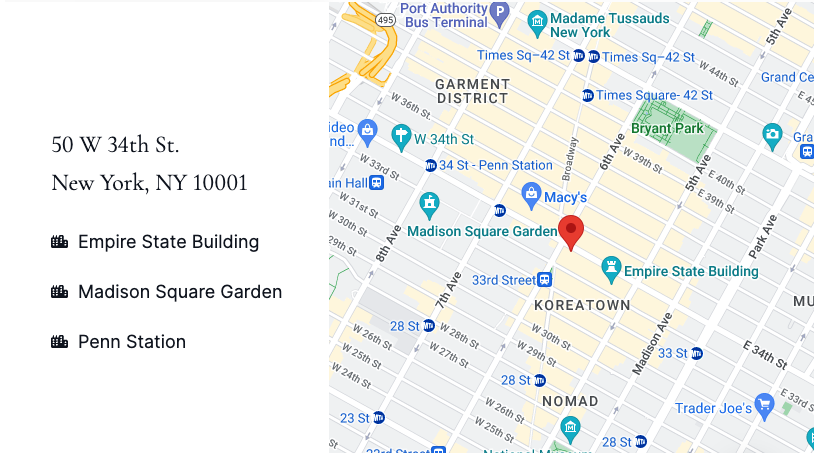
Nearby Attractions
- Add the names of nearby attractions to your asset so that they appear on the deal page.
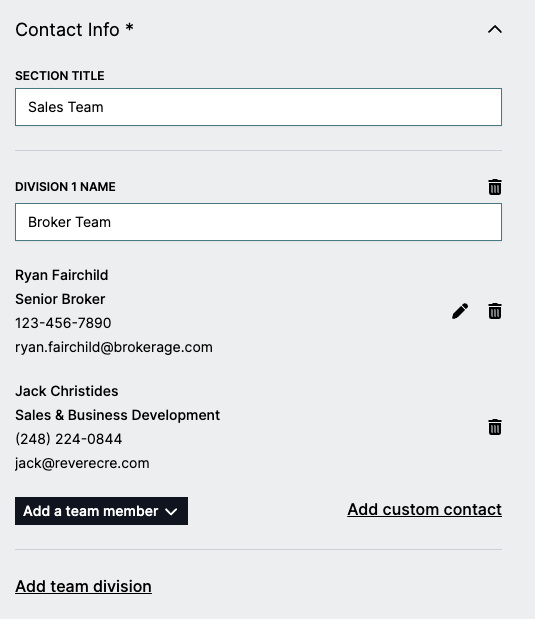
Contact Information
- Add members of your team to show up on the deal page.
- You may also choose to add custom contacts who do not have Revere accounts by manually entering their information.
- Note that you may only edit custom contacts.
- For team members, the contact information from a team member's profile will be used.
- You can choose to split your team into "Divisions" and display contacts separately.
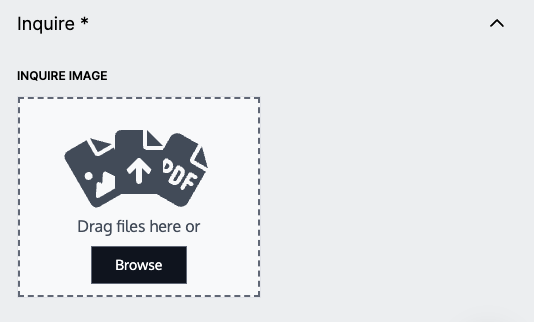
Inquire
- Add an inquire image, which will be the backdrop for the inquiry form at the bottom of the deal page.